Migrate to the New My Cloud Wallet
This guide covers how to move from the legacy My Cloud Wallet to the new My Cloud Wallet experience that uses passkeys for sign-in and a 12-word mnemonic phrase for recovery.
My Cloud Wallet Requirements
To complete the migration to the new passkey-based My Cloud Wallet you must use a browser and device that are capable of storing WebAuthn PRF passkeys.
For a list of supported devices, browsers, and password managers, see My Cloud Wallet Requirements.
Before You Start
Before starting the migration:
- Make sure you can still sign in to your legacy wallet at legacy.mycloudwallet.com
- Use a supported browser and device for passkeys
- Temporarily disable other password managers if they interfere with passkey prompts
- Be ready to save recovery information securely before continuing
- Do not close the migration window until the new wallet finishes setup
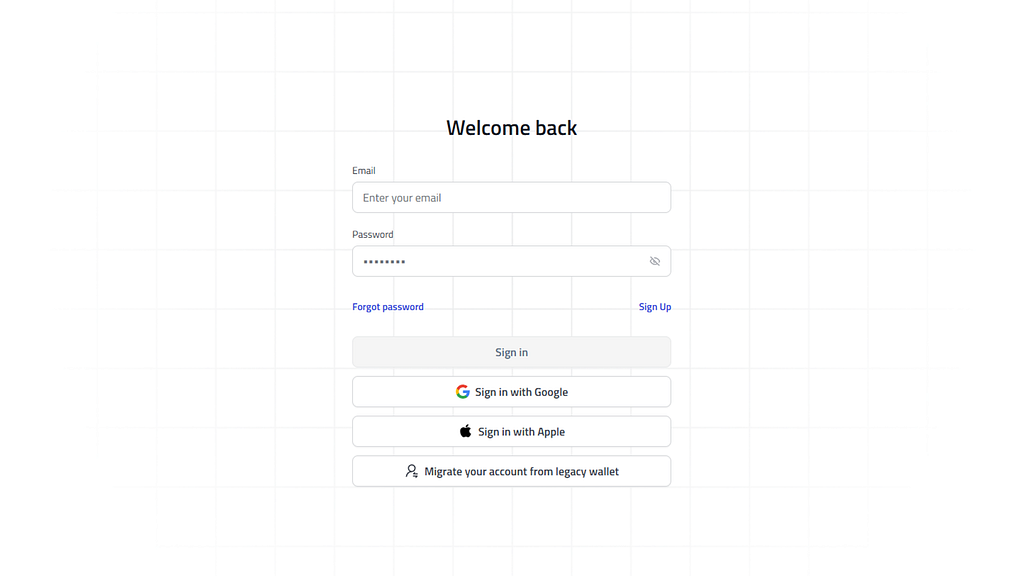
Go to mycloudwallet.com and select Migrate your account from legacy wallet. The flow sends you to legacy.mycloudwallet.com to authenticate.
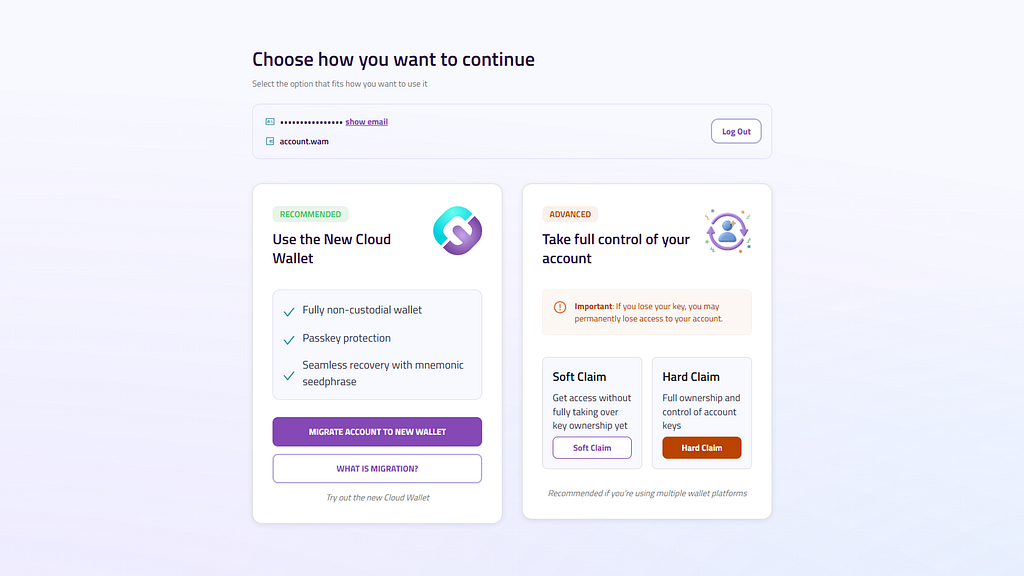
After signing in to the legacy wallet, you will see two main options:
- Use the New My Cloud Wallet: The standard migration path and the recommended choice for most users
- Take full control of your account: Advanced claiming options for users who want direct key control in the legacy system
For most users, choose Use the New My Cloud Wallet.
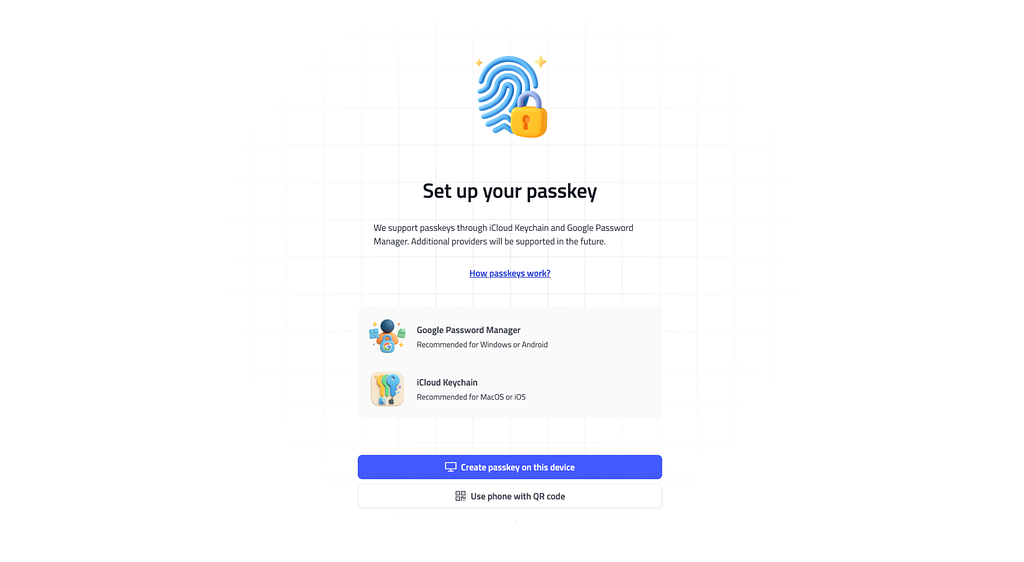
Step 1: Create Your Passkey
The new wallet uses a passkey instead of a password. Your passkey is protected by your device, such as Face ID, Touch ID, fingerprint, or PIN.
You can create the passkey in one of two ways:
- Create passkey on this device: Best if you want the passkey saved locally or through your device's supported password manager
- Use phone with QR code: Best if you want the passkey stored on your phone
If the browser shows the wrong password manager or the prompt fails, disable competing password managers and try again.
Step 2: Continue to Migration
After the passkey is created, the migration UI continues into the guided legacy-account transfer flow. In the current app, most users do not choose between multiple migration sub-paths here.
Click Continue to migration to start the guided steps below.
Step 3: Back Up Your 12-Word Mnemonic Phrase
The wallet will generate a 12-word mnemonic phrase. This is your master recovery phrase.
- Write it down in the correct order
- Store it offline in a secure place
- Avoid screenshots or unsecured cloud storage
The UI also lets you copy the phrase or download it as a .txt file, but offline storage is still the safest option.
Select Next after you have stored it securely.

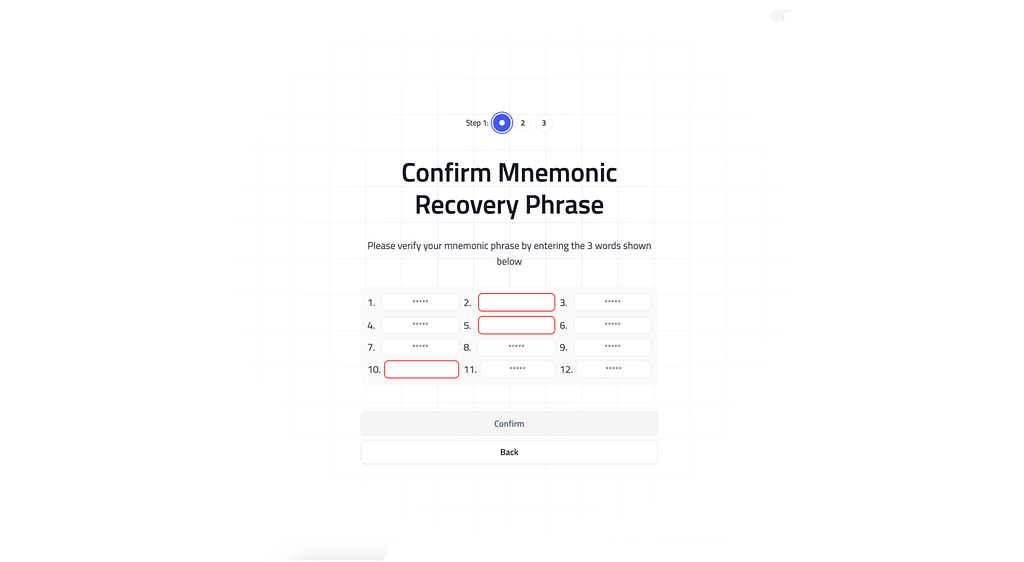
Step 4: Confirm the Mnemonic Phrase
You will be asked to enter 3 of the 12 words to confirm your backup.
- Enter each requested word in the correct numbered field
- The confirmation button stays disabled until all required words are correct
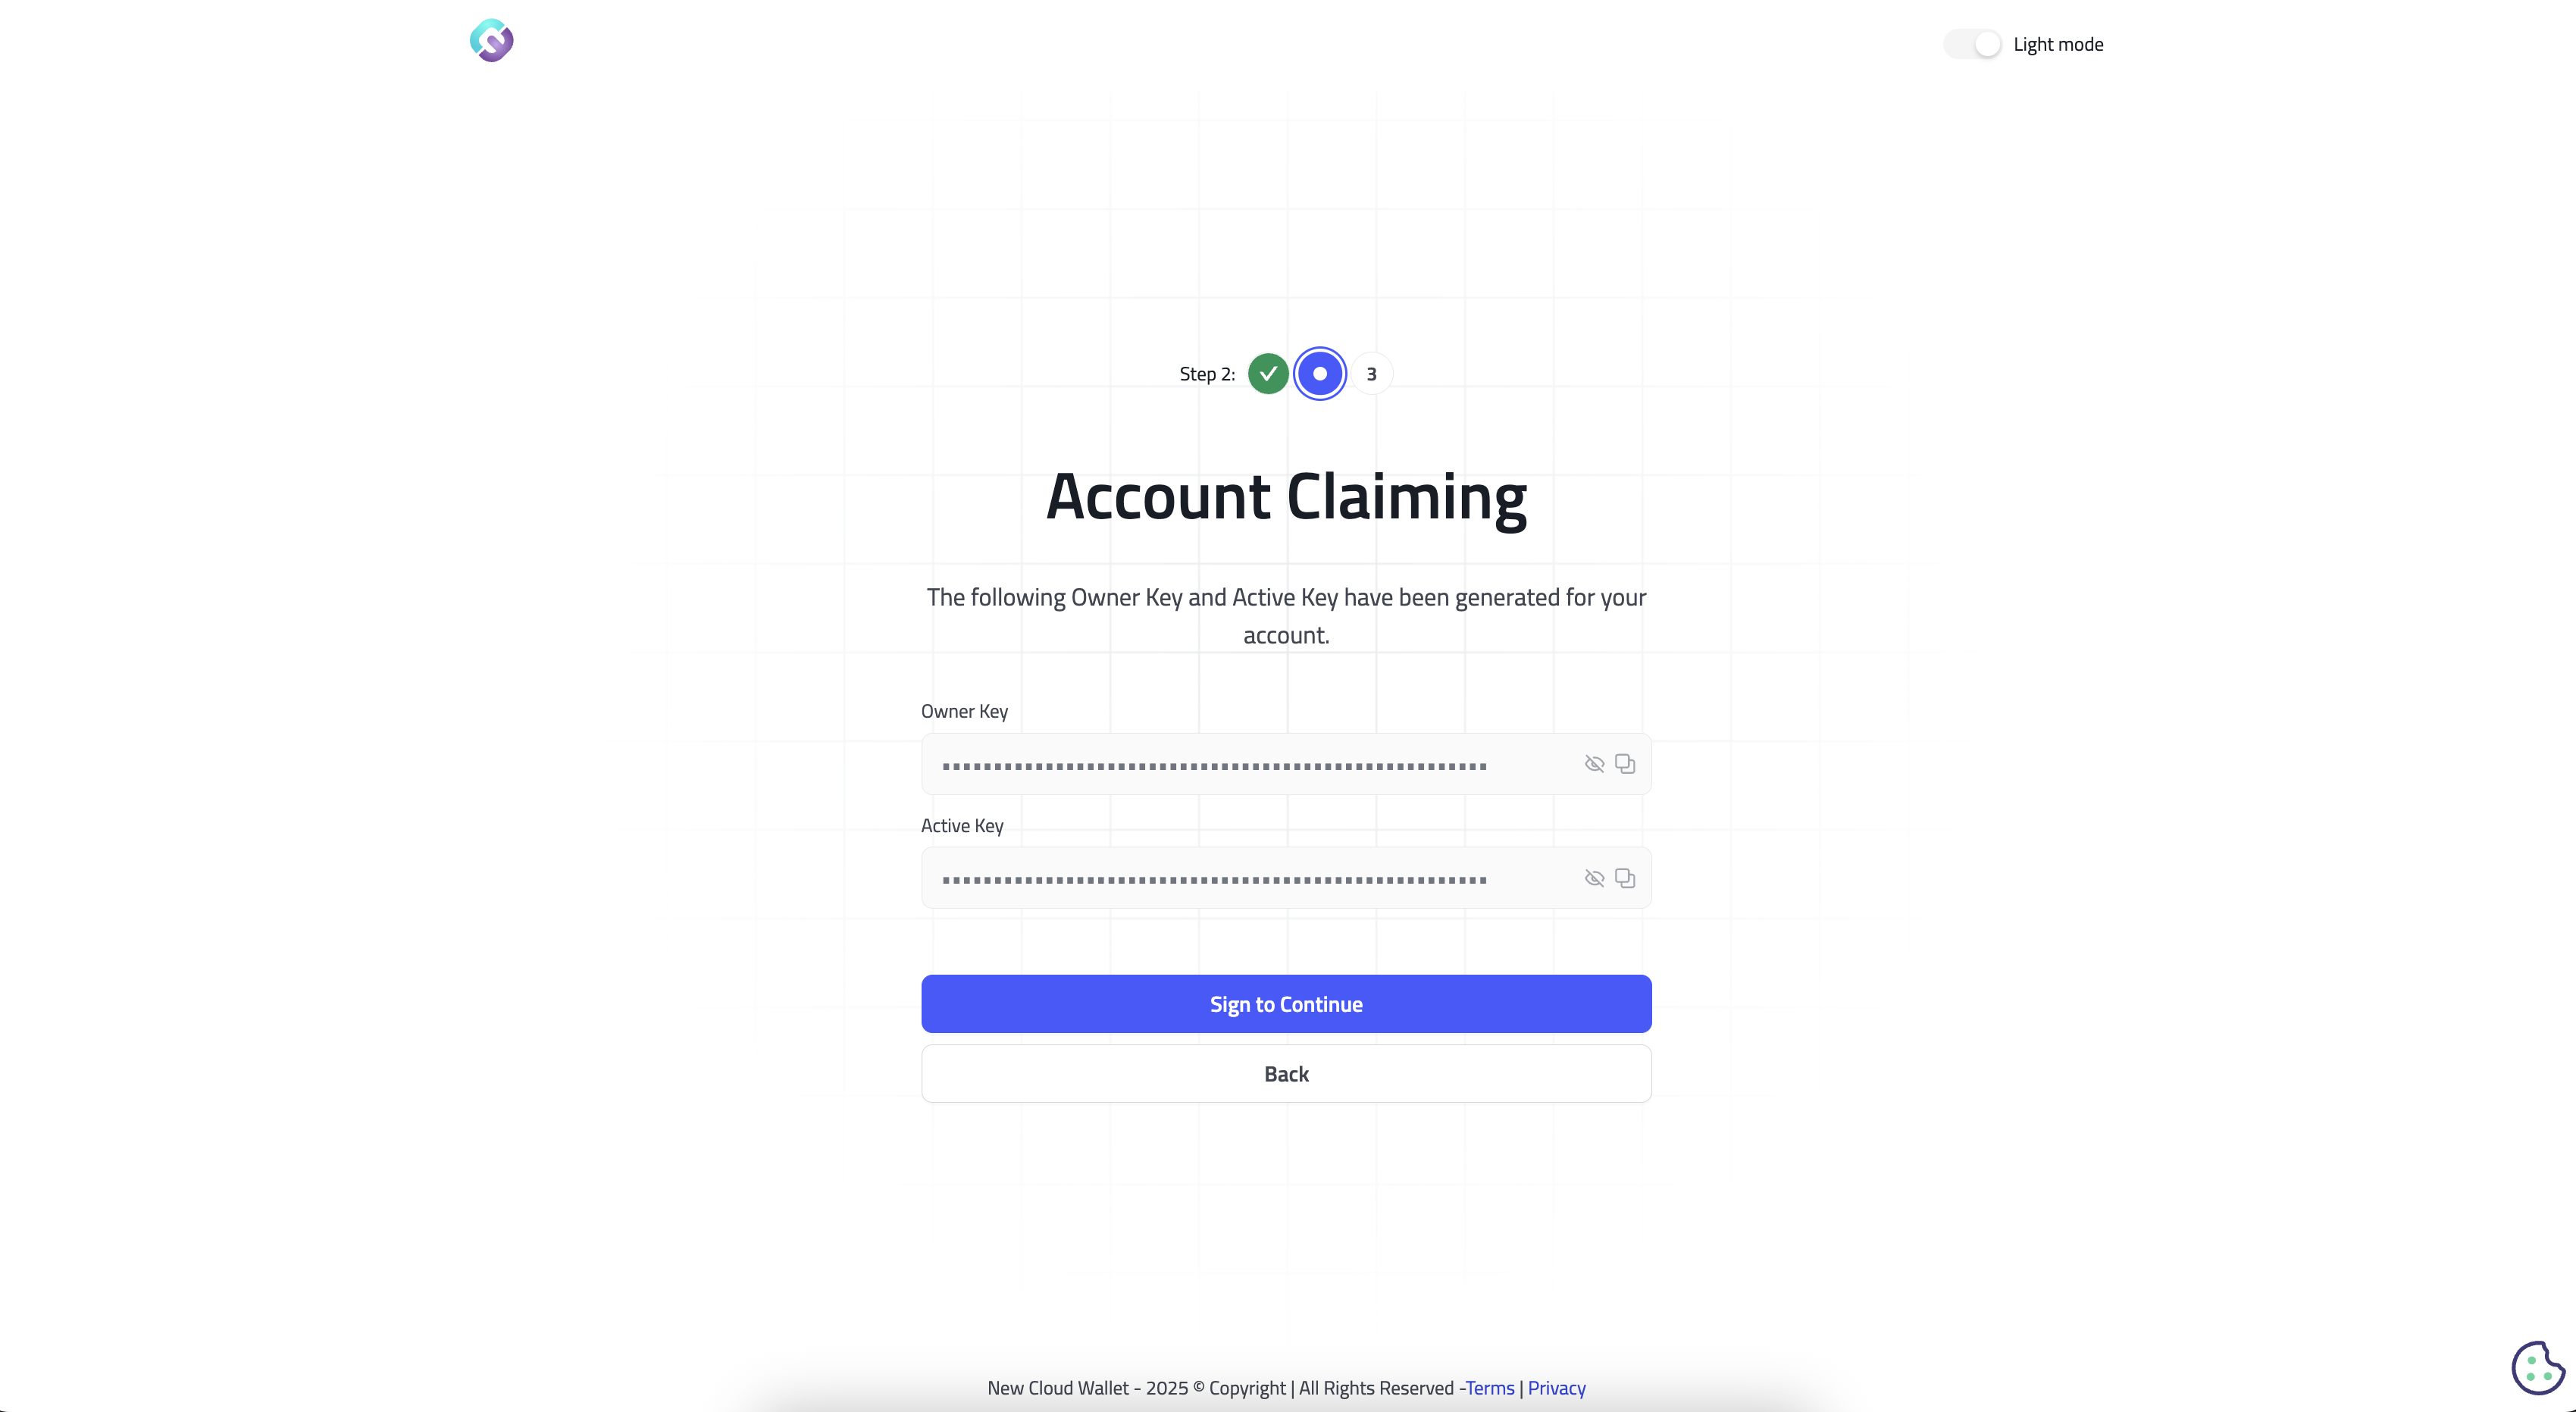
Step 5: Review the Generated Owner and Active Public Keys
After mnemonic confirmation, the app derives the keys it needs for the claim flow from that mnemonic and shows the related public keys:
- Owner public key
- Active public key
These are useful for reference during the claim process, but your real recovery secret is the 12-word mnemonic phrase.
Step 6: Approve the Legacy Claim Flow
The migration flow uses the legacy wallet session to claim the old account into the new passkey-based setup.
- Make sure you are signed in to the correct legacy wallet account
- Start the claim step when prompted
- Approve the legacy wallet transaction request
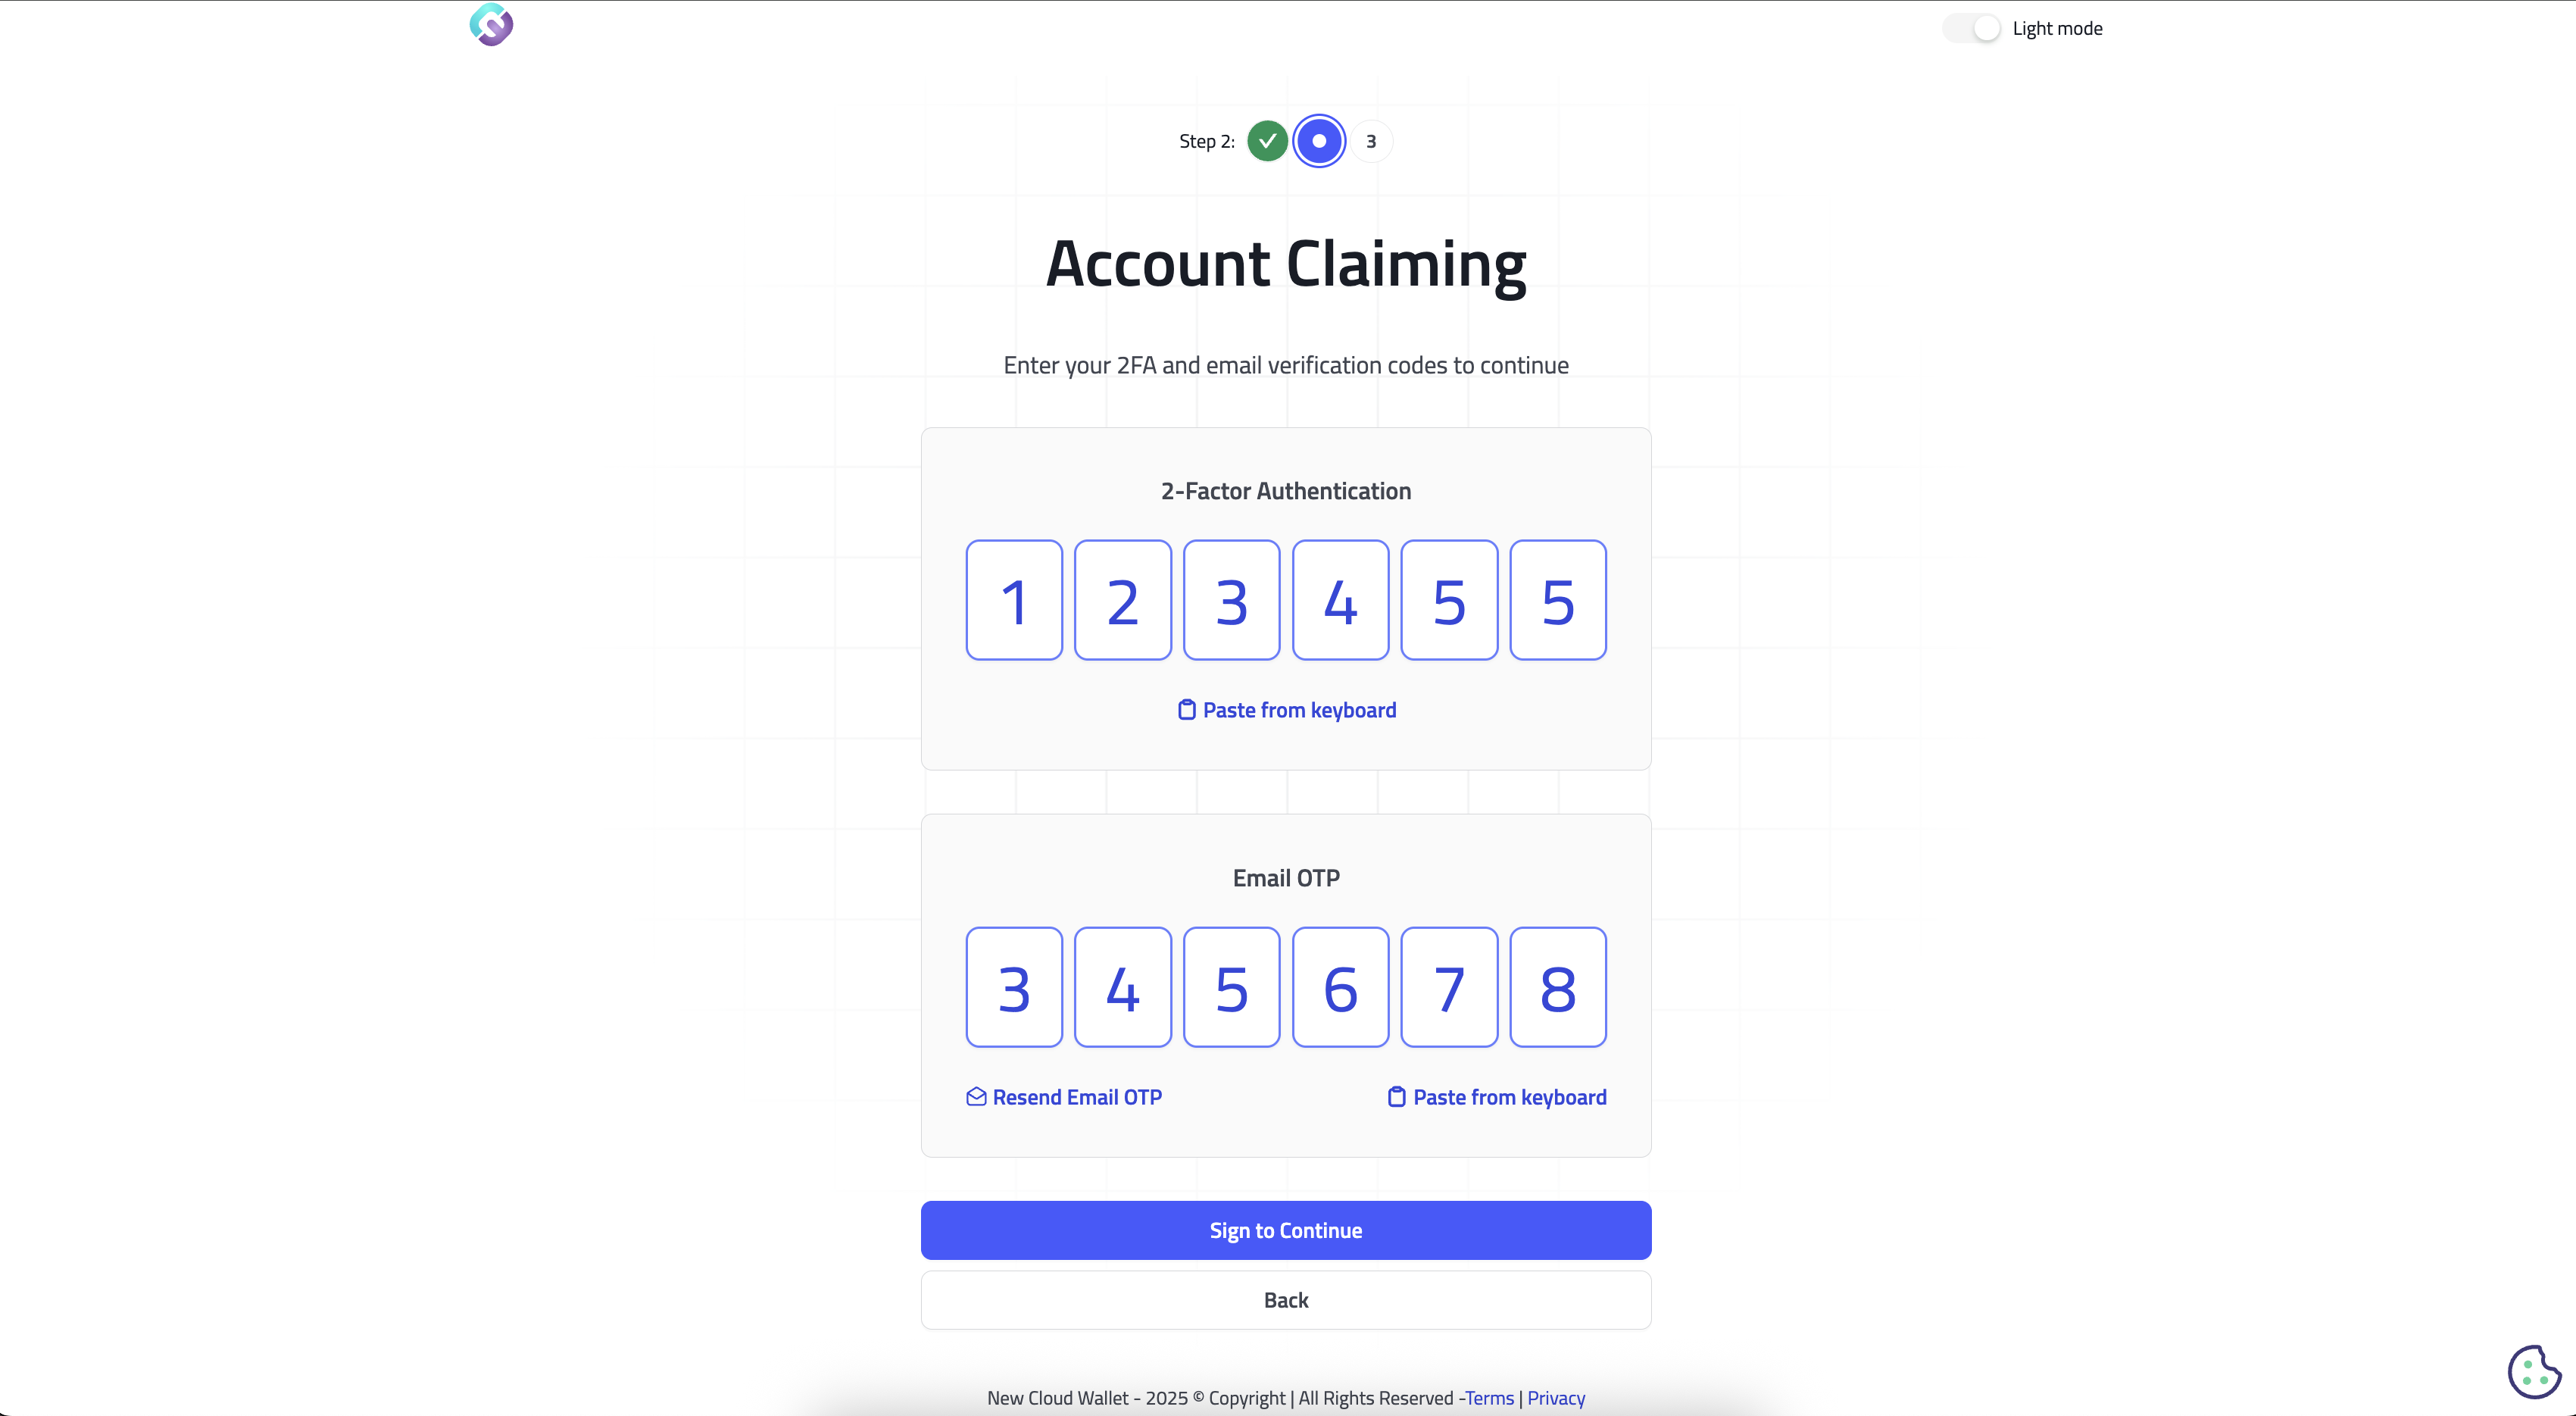
Step 7: Complete OTP Verification
The wallet may ask for verification codes:
- Email OTP is always required
- If legacy-wallet 2FA is enabled, enter both the 2FA code and the email OTP
If the email code does not arrive, use Resend and check your spam folder.
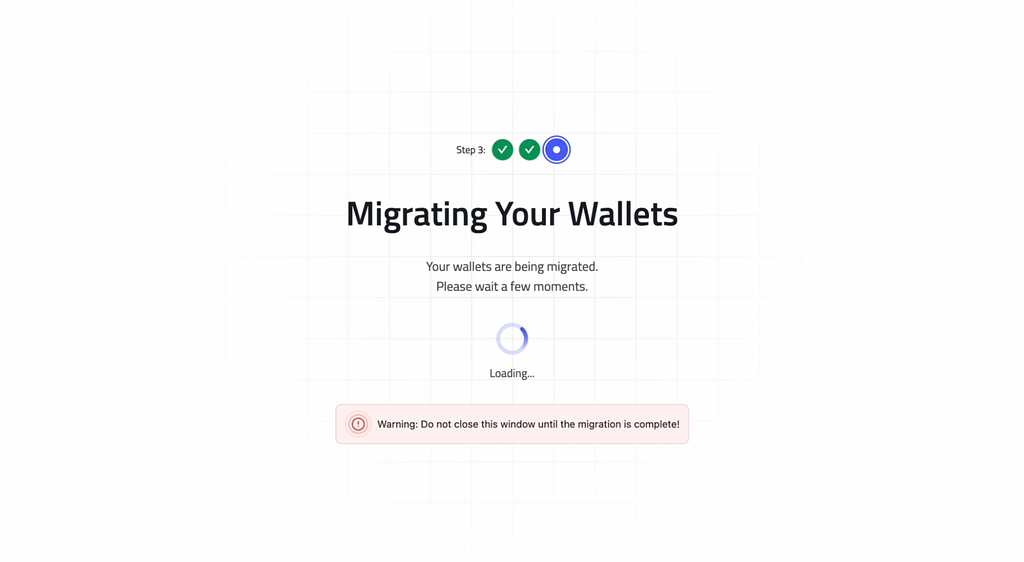
Step 8: Wait for Wallet Creation to Finish
After the claim succeeds, the new wallet creates your migrated wallet and passkey-backed encrypted package automatically. The app shows a countdown-based progress screen while this finishes.
When complete, your account name, balances, and assets should appear in the new wallet.
If You Already Claimed in the Legacy Wallet
Some users already completed account claiming in the old system before setting up the new wallet.
In that case, signing in to the new wallet can route you into passkey setup plus mnemonic import instead of rerunning the full guided migration above. The codebase also includes a private-key import route, but it is separate from the standard guided migration flow.
After Migration
Once migration is complete, review the following:
- Confirm you can sign in with your passkey
- Confirm your account name and balances are visible
- Confirm your mnemonic phrase is stored safely offline
- Consider adding another device later using your mnemonic phrase
Advanced Path: Soft Claim and Hard Claim
The legacy wallet still exposes advanced claiming options:
- Soft Claim: Keeps some My Cloud Wallet integration while giving you more key control
- Hard Claim: Transfers full key ownership to you and removes My Cloud Wallet custody
These options are meant for advanced users. If you are unsure, use the standard migration path instead.
Common Migration Issues
- Account already migrated: Sign in directly at mycloudwallet.com
- Email already exists in the new wallet: Try signing in to the new wallet first instead of restarting migration
- Passkey prompt does not appear: Disable other password managers and retry
- Migration fails partway through: Sign back in to the legacy wallet at legacy.mycloudwallet.com and resume from the legacy migration screen
- You already claimed in the legacy wallet: Sign in to the new wallet again and follow the passkey setup or mnemonic-import flow it presents
For more issue-specific fixes, see Troubleshooting.